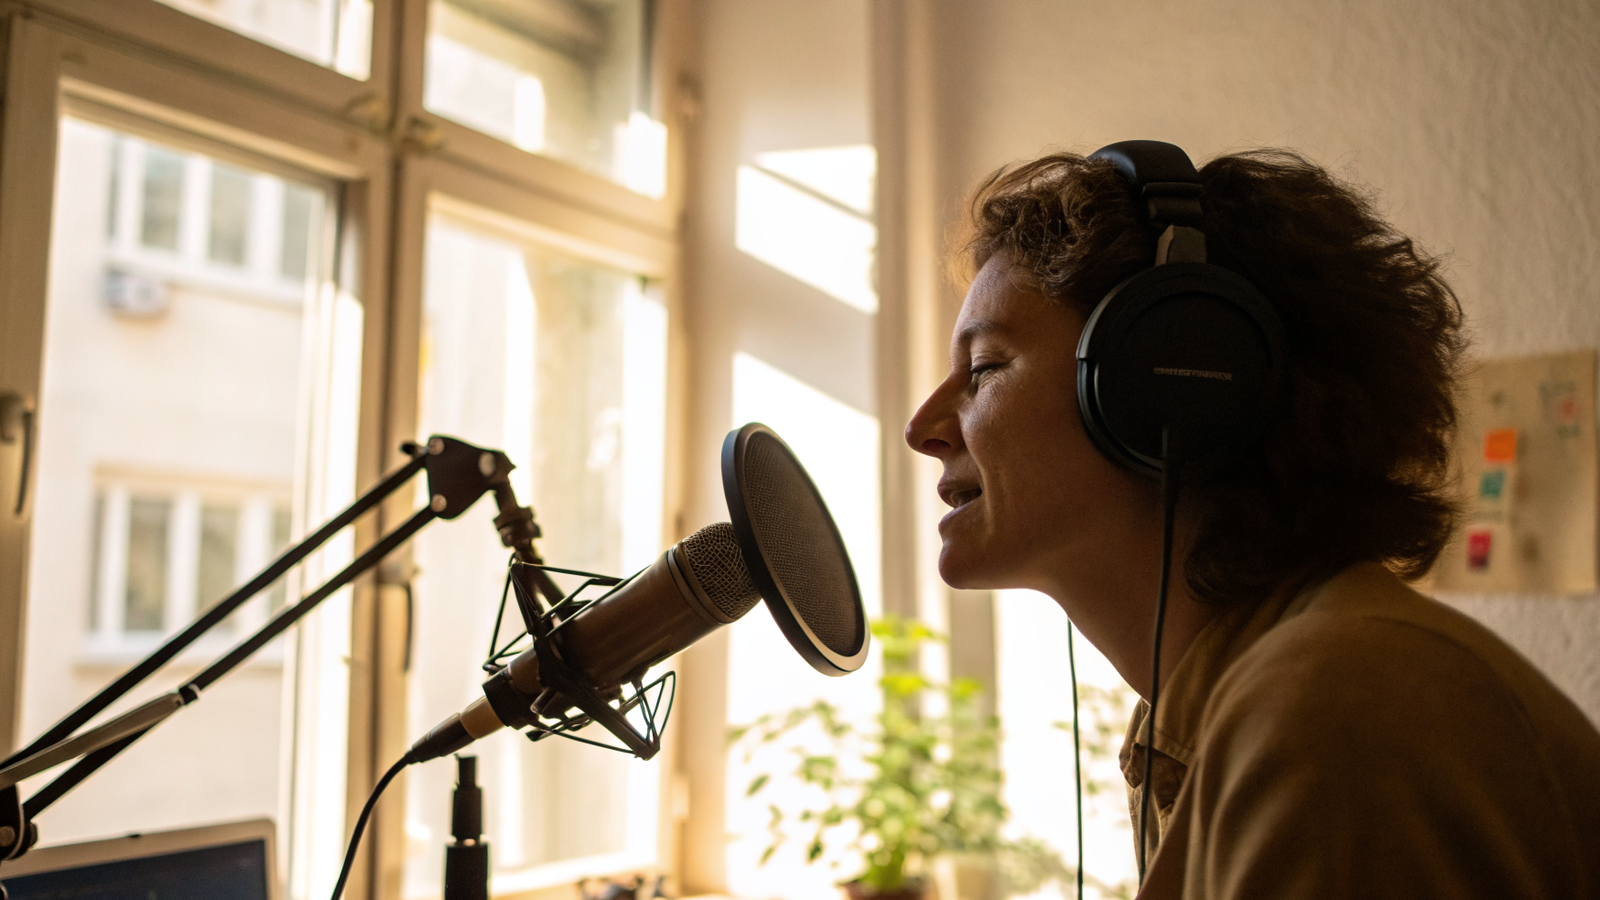
Starting a podcast looks harder from the outside than it really is. The gear feels technical, the hosting jargon is confusing, and everyone seems to have an opinion on the “right” way to do it. The truth: people have launched great shows from a bedroom with a $70 mic and a laptop. What matters is a clear idea and the will to publish.
This is a practical, beginner-friendly plan in nine steps. Follow it in order and you'll go from a vague idea to a published first episode, without buying things you don't need. To put the scale in perspective: on the Springcast platform alone, listeners start roughly 85 episodes every minute (Springcast platform data, May 2026). There's plenty of room for your voice.
The 9 steps at a glance
Here's the whole journey before we dig in. Bookmark this list: it's your map from idea to launch.
- 1. Nail your concept, format and audience
- 2. Get the basic gear (mic, headphones, quiet room)
- 3. Record your first episode
- 4. Edit the essentials
- 5. Create cover art and pick a show name
- 6. Choose a host and set up your RSS feed
- 7. Distribute to Spotify, Apple and beyond
- 8. Plan your launch (3+ episodes)
- 9. Promote episode one
Step 1. Nail your concept, format and audience
Most podcasts that fizzle out were never clear about what they were. Before you touch a microphone, answer three questions: what is this show about, who is it for, and what does an episode look like every time?
Keep the topic narrow enough to be memorable. “A podcast about business” competes with thousands; “short interviews with first-time founders in the Benelux” gives someone a reason to subscribe. Picture one real listener and make the show for them.
Then choose a repeatable format: solo, co-hosted, or interview. Pick a length you can sustain (20 to 40 minutes is plenty for most shows) and a rhythm you can keep, like every other week.
Step 2. Get the basic gear
This is where beginners overspend. You do not need a studio. A clean, quiet recording beats an expensive setup in an echoey room, every time. Your starter kit:
- A USB microphone. Plugs straight into your laptop, no extra equipment. A decent one costs roughly €60–120.
- Headphones. Any closed-back pair so you can hear problems while recording. You may already own a usable set.
- A quiet room. The most underrated upgrade. Soft furnishings, curtains and a closet full of clothes tame echo for free.
Starting with nothing? Your phone plus wired earbuds with a mic can record a usable test episode today. Upgrade once you know you'll keep going.
Step 3. Record your first episode
Record in the quietest room you have, at a time when the house and street are calm. Free software like Audacity (Mac, Windows, Linux) or GarageBand (Mac) is all you need to start.
A few habits that save hours of editing later: keep the mic about a hand's width from your mouth, watch your input level so it never hits the red, and if you have guests, record each person on a separate track. Always run a 20-second test and play it back before the real take.
Step 4. Edit the essentials
Editing your first episode should be light. You're not making a documentary. You're removing the moments that pull a listener out: long silences, false starts, the loud cough. Resist the urge to polish every “um” away; a little natural imperfection sounds human.
Do three things well: cut the obvious mistakes, even out the volume so it's comfortable throughout, and add a short intro and outro so the show feels finished. Export as an MP3, the universal podcast format.
Done and published beats perfect and unreleased. Always.
Step 5. Create cover art and pick a show name
Your cover art is the first thing anyone sees, often as a thumbnail the size of a stamp. Make it work small: a bold, readable title and high contrast beat a busy, detailed design. The technical spec apps expect is a square image, 3000×3000 pixels.
For the name, clarity beats cleverness. A searchable name that hints at the topic helps people find you; an inside joke does not. Check the name isn't already taken on the major apps before you commit.
Step 6. Choose a host and set up your RSS feed
This is the step beginners understand least, so here's the plain version. A podcast host is where your audio files actually live. It generates an RSS feed: a single web address that contains your show's details and every episode. Spotify, Apple and other apps read that feed to display your podcast. You publish once to your host; the feed updates everywhere.
Crucially, Spotify and Apple are listening apps, not hosts. You don't upload to each one separately. You point them at your feed once. A good host also gives you reliable analytics and, just as important, ownership of your feed so you're never locked in.
When you compare options, weigh storage limits, analytics quality, ease of use, where your data is stored, and price. We break the trade-offs down in our guide on how to choose a podcast host, and the real numbers in what podcast hosting costs. If you want to see how it works end to end, our podcast hosting and distribution page walks through upload, feed and distribution in one place.
Step 7. Distribute to Spotify, Apple and beyond
With your episode uploaded and your feed live, distribution is mostly a one-time setup. Submit your RSS feed to each app's podcast portal: Spotify for Podcasters, Apple Podcasts Connect, plus YouTube and others where it fits your audience. Each review can take anywhere from a few hours to a few days.
After approval, you never repeat this. Every future episode flows out automatically the moment you publish to your host. One upload, every platform.
Step 8. Plan your launch
Don't launch with a single episode. Publish at least three at once. New listeners who like episode one can immediately binge two and three, and a show with several episodes looks established rather than abandoned. It also buys you breathing room to record the next batch.
Decide your publishing rhythm and protect it. Consistency matters more than frequency: a reliable episode every two weeks beats a burst of five and then silence. Batch-record when you can so a busy week never breaks the streak.
Step 9. Promote episode one
A podcast doesn't get found on its own at the start, so you have to point people to it. Your first and best audience is the network you already have. Tell them directly and ask them to follow, listen and leave a review (early reviews genuinely help).
From there, turn each episode into shareable pieces: a tracked episode link for social, a quote graphic, a behind-the-scenes post. Once you have a few episodes out, it's worth learning podcast SEO so the right people discover you through search as well. When your early audience starts to build, our growth guide covers exactly how to grow from 100 to 10,000 listeners.
📋 Your launch checklist
- Concept, audience and one-sentence promise defined
- USB mic, headphones and a quiet room ready
- First episode recorded and lightly edited (MP3)
- Cover art (3000×3000) and a searchable name
- Podcast host chosen and RSS feed generated
- Submitted to Spotify, Apple and other apps
- 3+ episodes ready and a publishing rhythm set
- Launch announced to your network with a tracked episode link
Frequently asked questions
Your first episode is closer than you think
Every podcast you admire started exactly where you are now: one idea and an empty recording. You don't need permission or perfect gear, just the next step. Pick your concept this week, record a rough test, and the rest of this plan falls into place. When you're ready to publish, start free with Springcast and get your feed live in minutes.